
Food Photography Magic: 5 Essential Tips for Stunning Food Photos
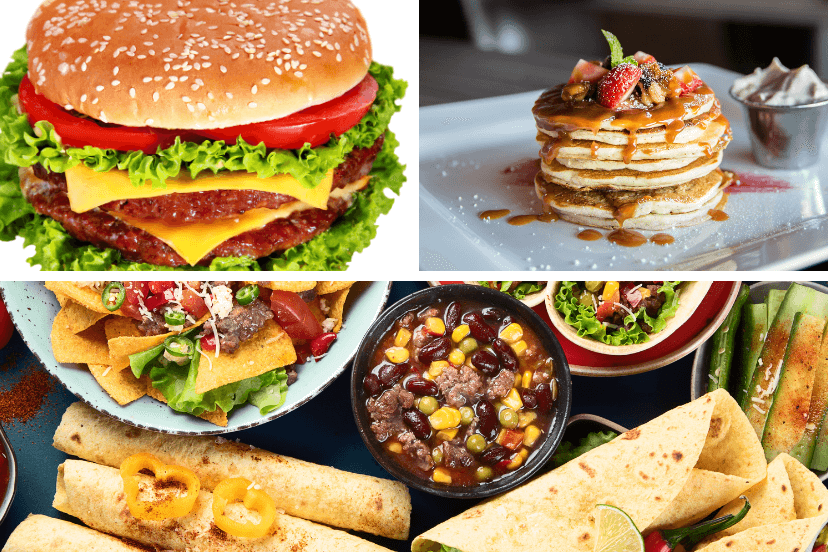
5 Food Photography Tips: Frame the Flavor.
Whether you’re a food blogger, a restaurant owner, an aspiring food photographer, or just an enthusiast looking to share mouthwatering food photos, these 5 food photography tips will help you take your food photography skills to the next level.
I am a participant in the Amazon Services LLC Associates Program, an affiliate advertising program designed to provide a means for me to earn fees by linking to Amazon.com and related sites. This post may contain affiliate links, which means I may receive a commission, at no cost to you, for purchases made using my links. Please see my disclosure to learn more.
Recommended
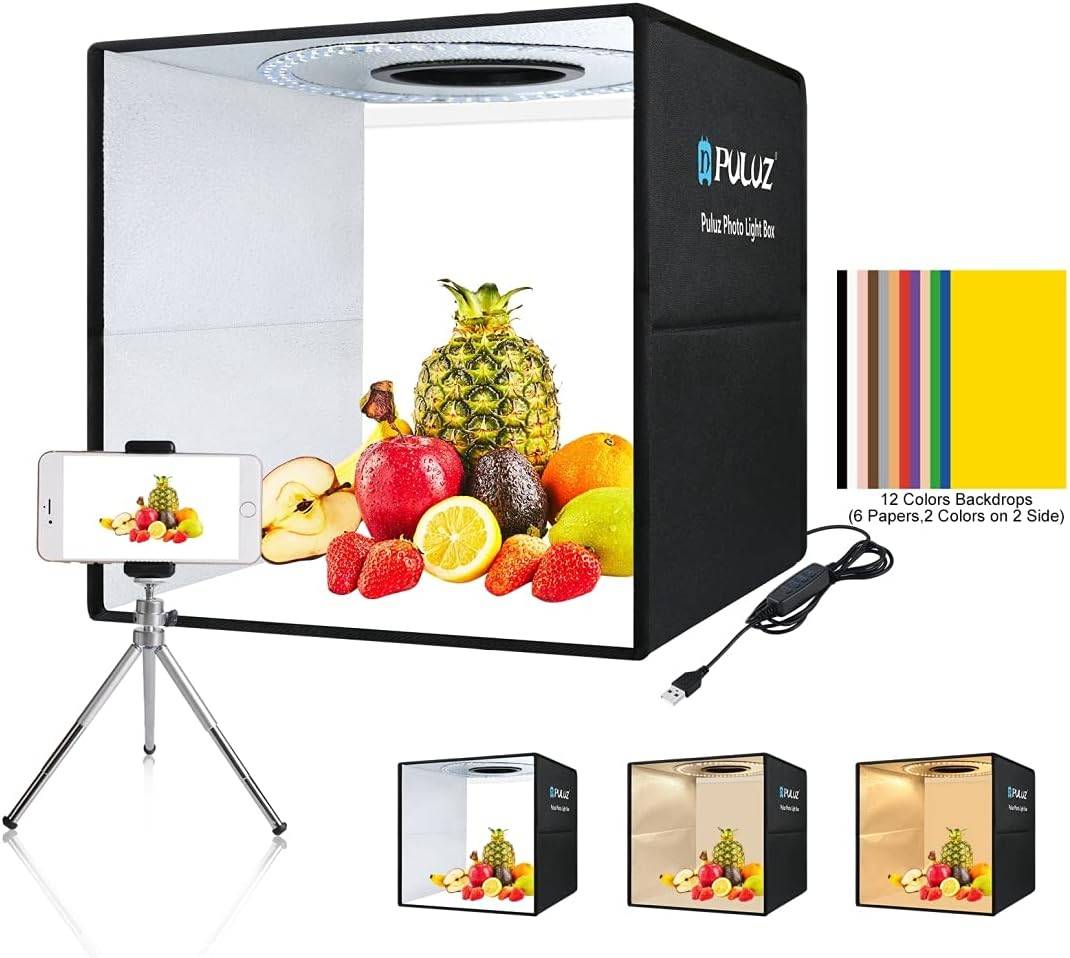
Photo Box 16×16″ Quick Install Foldable Portable Studio Kit
Recommended
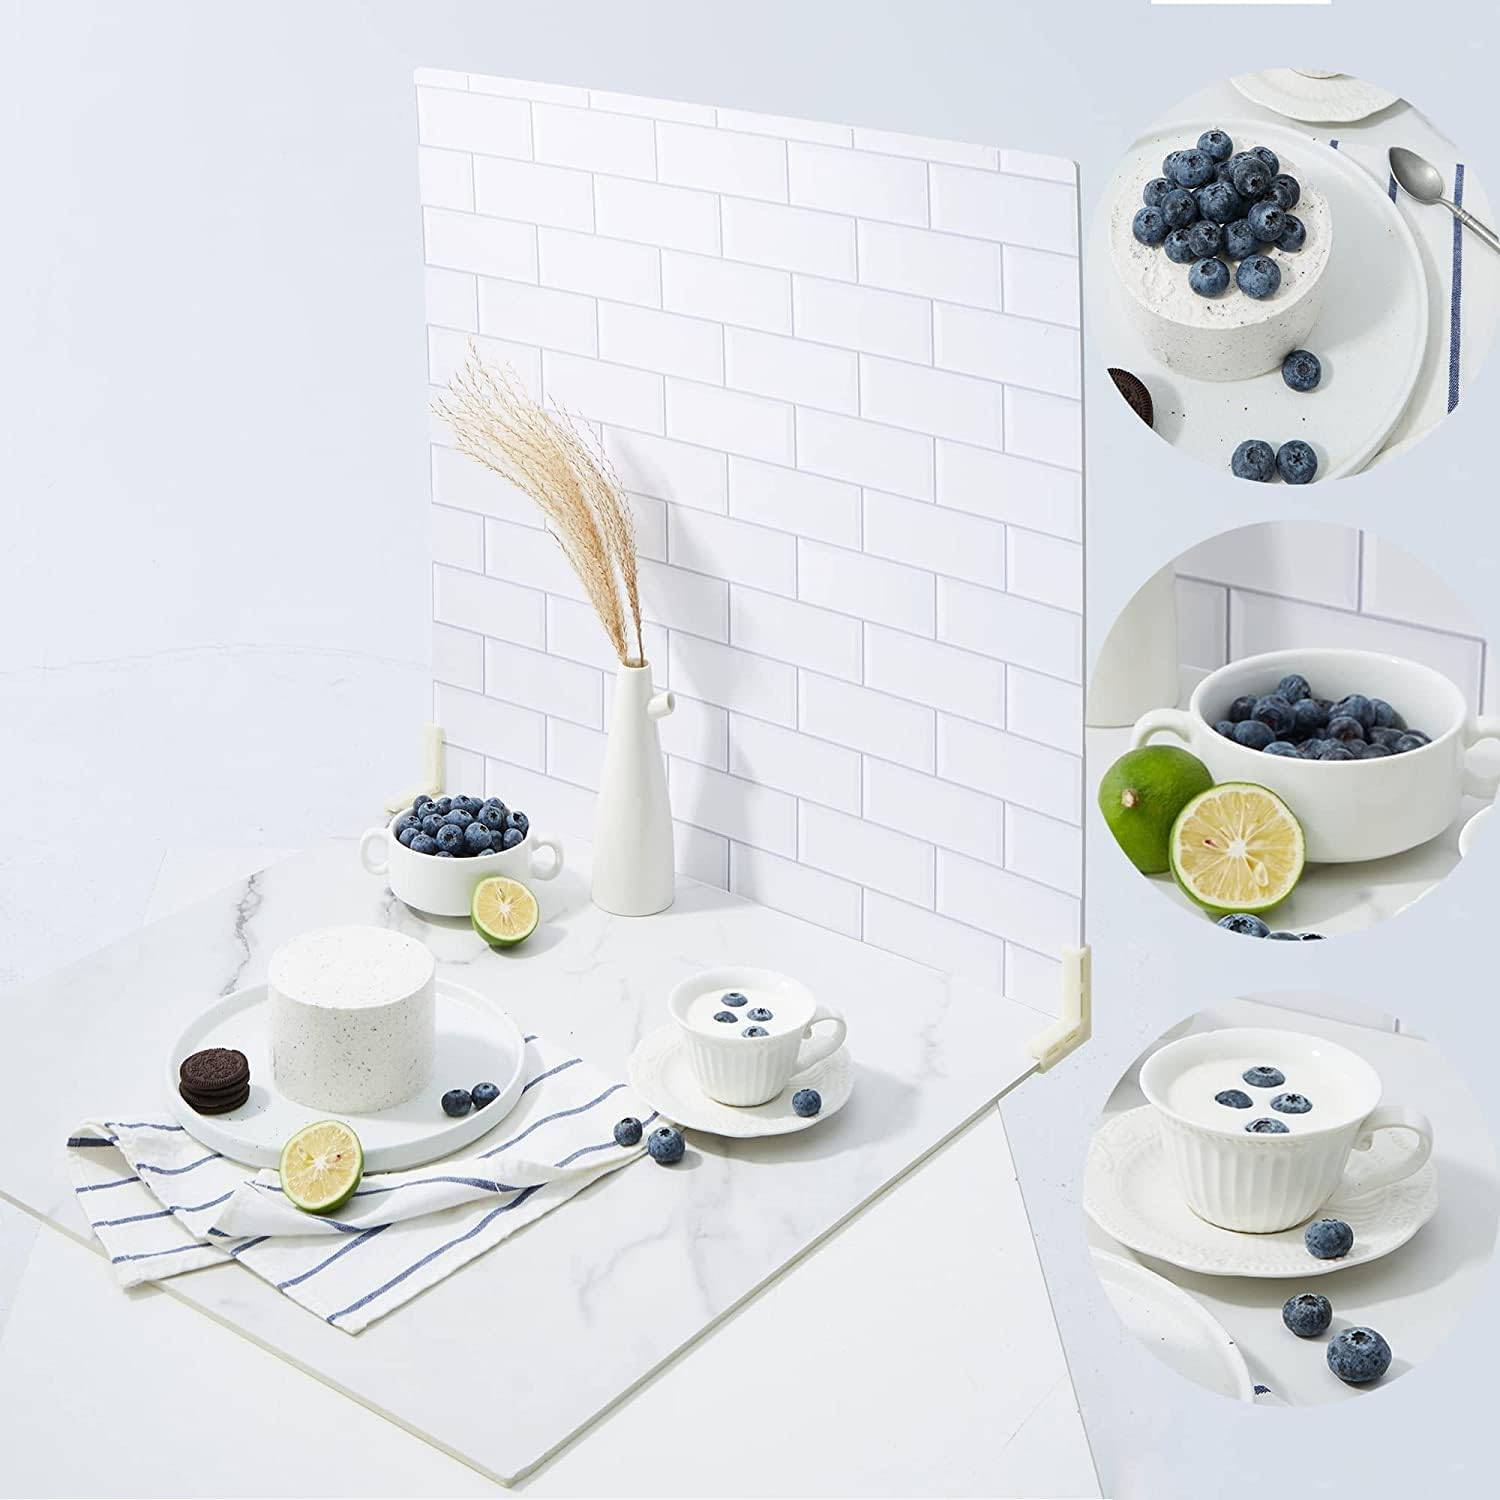
2 PCS Boards Photo Backdrop for Flat Lay, Food Photography
Recommended
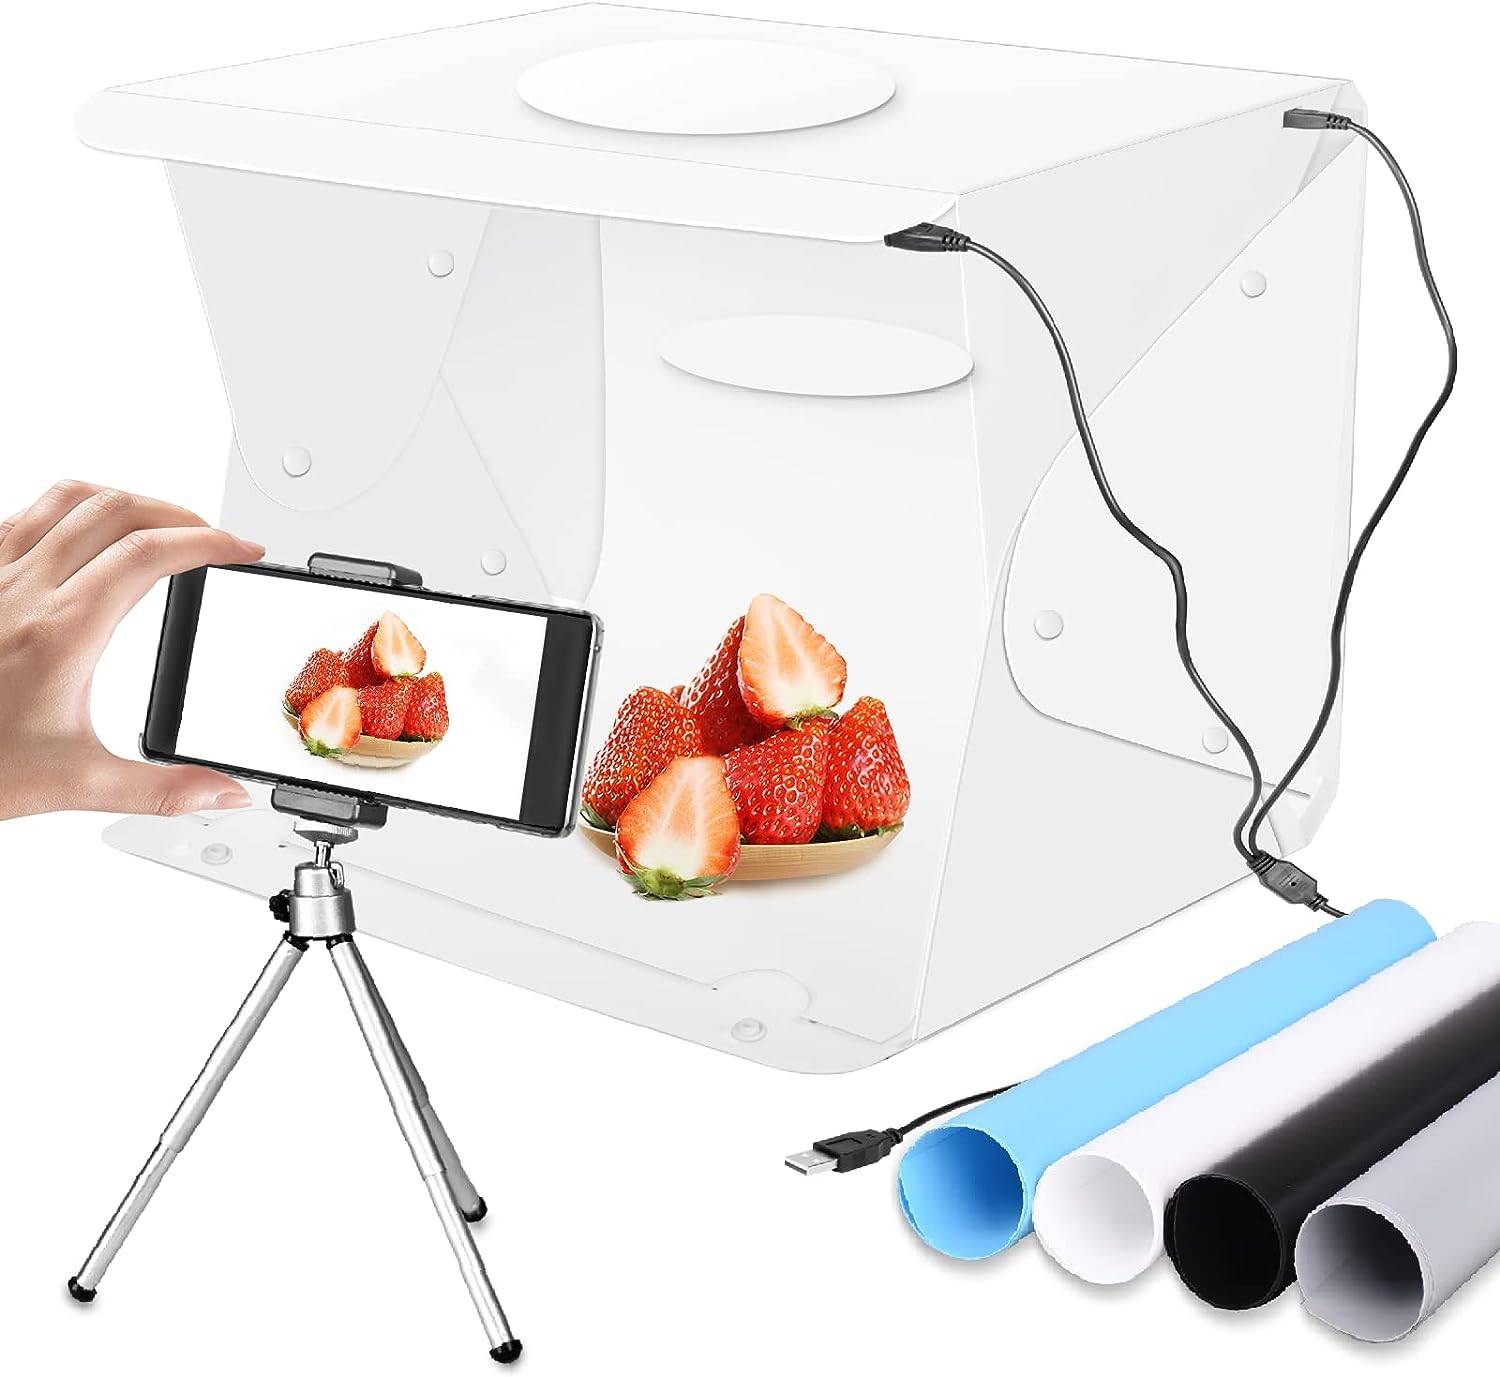
Upgrade Emart 14″ x 16″ Photography Table Top Light Box
From lighting and composition to styling and editing, I’ve got you covered with practical tips and engaging examples. So grab your camera and let’s dive in!
Tip 1: Master the Art of Lighting
Good lighting is crucial for capturing appetizing food photos. Natural light is your best friend when it comes to food photography. Position your subject near a window or shoot outdoors during the golden hour for soft, flattering light. Avoid harsh overhead lighting or direct sunlight, as they can create unflattering shadows and highlights.
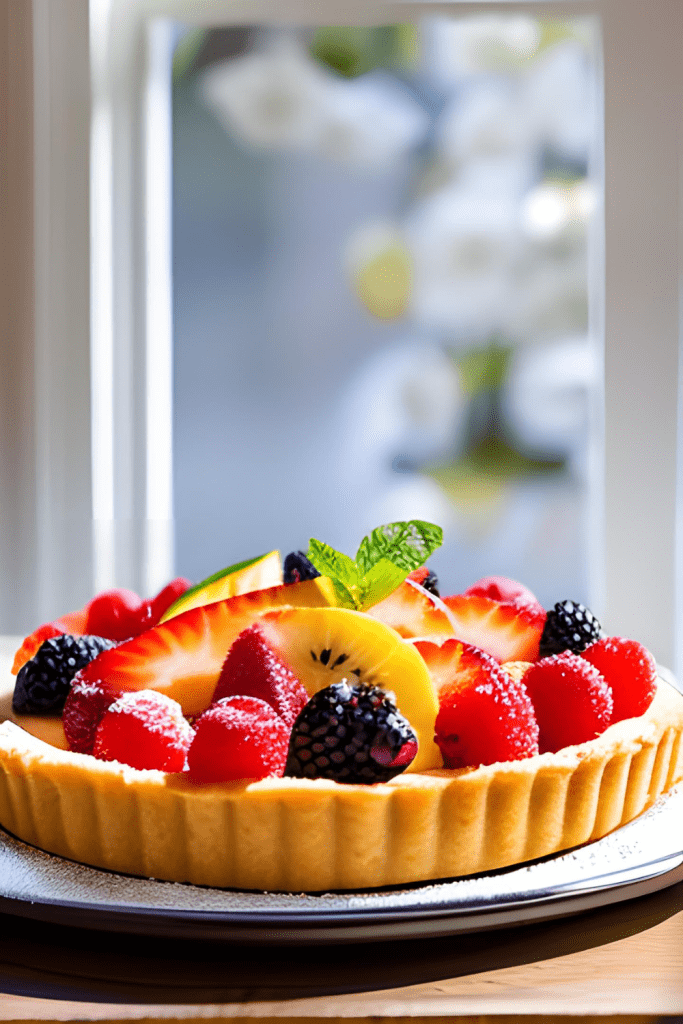
Example: Imagine a plate of fresh fruit tart placed on a rustic wooden table next to a large window. The soft morning light streams in, casting a warm glow on the tart, making the colors pop and highlighting the textures of the crust and fruit.
Tip 2: Find the Perfect Angle
Experiment with different angles to find the most appealing perspective for your food. Rather than shooting straight down, try shooting from a 45-degree angle or at eye level with the food. This allows you to capture the depth and details, making the viewer feel like they’re right there with the dish.
Example: Let’s say you’re photographing a steaming bowl of pasta with vibrant tomato sauce. Shooting from a slight overhead angle can showcase the twirling noodles, the rich colors of the sauce, and the steam rising, creating a sense of warmth and deliciousness.
Tip 3: Pay Attention to Composition
Composition is the arrangement of elements within the frame. Consider the rule of thirds, where you divide the frame into a 3×3 grid and place the main subject along the grid lines or at the intersection points. This adds balance and visual interest to your photo.
Example: Imagine a close-up shot of a slice of chocolate cake on a plate. By placing the cake slice along one of the vertical grid lines, you can create a dynamic composition. Add a fork in the foreground to guide the viewer’s eye towards the cake, making them crave that first bite.
Tip 4: Style with Purpose
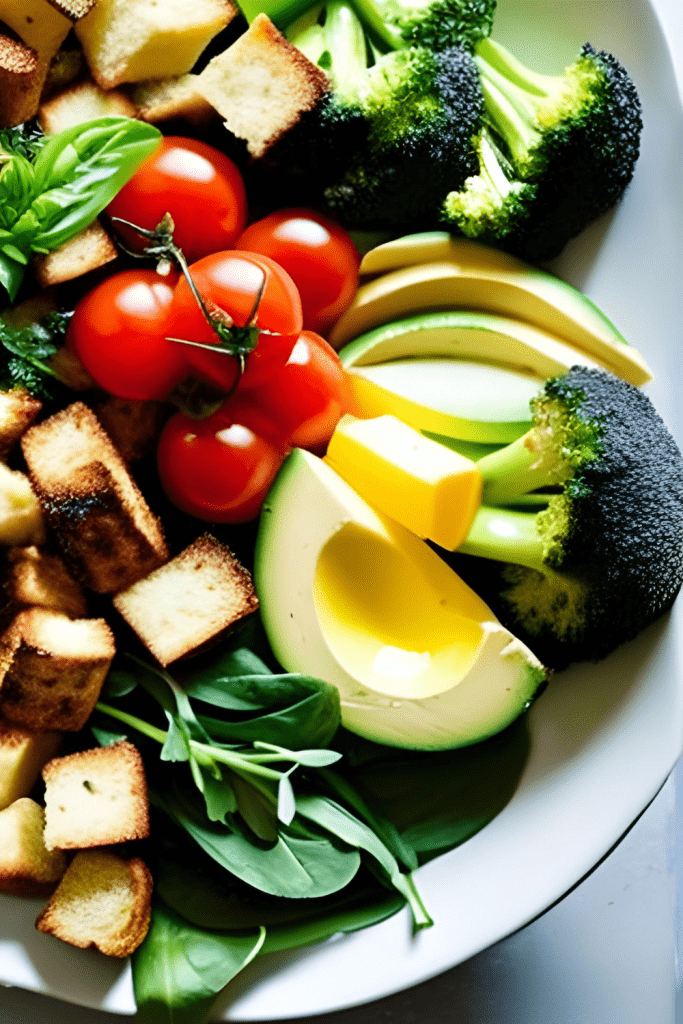
Food styling plays a vital role in food photography. Pay attention to the props, colors, and textures that complement your dish. Keep the styling simple and let the food shine as the star. Use garnishes, utensils, or a sprinkle of herbs strategically to enhance the composition and create visual interest.
Example: Let’s say you’re photographing a colorful salad. Use a clean, white plate to make the vibrant greens and vegetables pop. Add a drizzle of dressing on top, strategically placing a few extra herbs or croutons to add texture and create a visually appealing arrangement.
Tip 5: Edit for That Extra Oomph
Post-processing is the cherry on top of your food photography journey. Use photo editing software to enhance the colors, adjust the exposure, and sharpen the details. Be mindful not to go overboard; the goal is to make the food look even more enticing while maintaining a natural appearance.
Example: After capturing an image of a sizzling steak, you can enhance the colors to make the meat appear juicier and more succulent. Adjust the brightness and contrast to highlight the charred crust and the pink center. Sharpen the details of the sear marks to create a mouthwatering visual effect.
Final Thoughts on Food Photography:
There you have it. 5 food photography tips to help you take stunning food photos!
By mastering the art of lighting, finding the perfect angle, paying attention to composition, styling with purpose, and editing for that extra oomph, you’ll be well on your way to capturing delicious moments with your food photography.
Remember to practice, experiment, and have fun while immersing yourself in the captivating world of food photography.
FAQs (Frequently Asked Questions):
How important is the camera equipment for food photography?
Camera equipment can certainly make a difference in the quality of your food photos, but it’s not the only determining factor.
With the advancements in smartphone cameras, you can achieve impressive results without investing in expensive gear. Focus on mastering the fundamentals of composition, lighting, and styling before considering an upgrade.
Should I use a tripod for food photography?
Using a tripod can be beneficial, especially when shooting in low light or when you want to maintain a consistent composition. It helps eliminate camera shake and allows you to experiment with longer exposures.
However, it’s not always necessary. If you have steady hands or prefer a more spontaneous approach, shooting handheld can work well too.
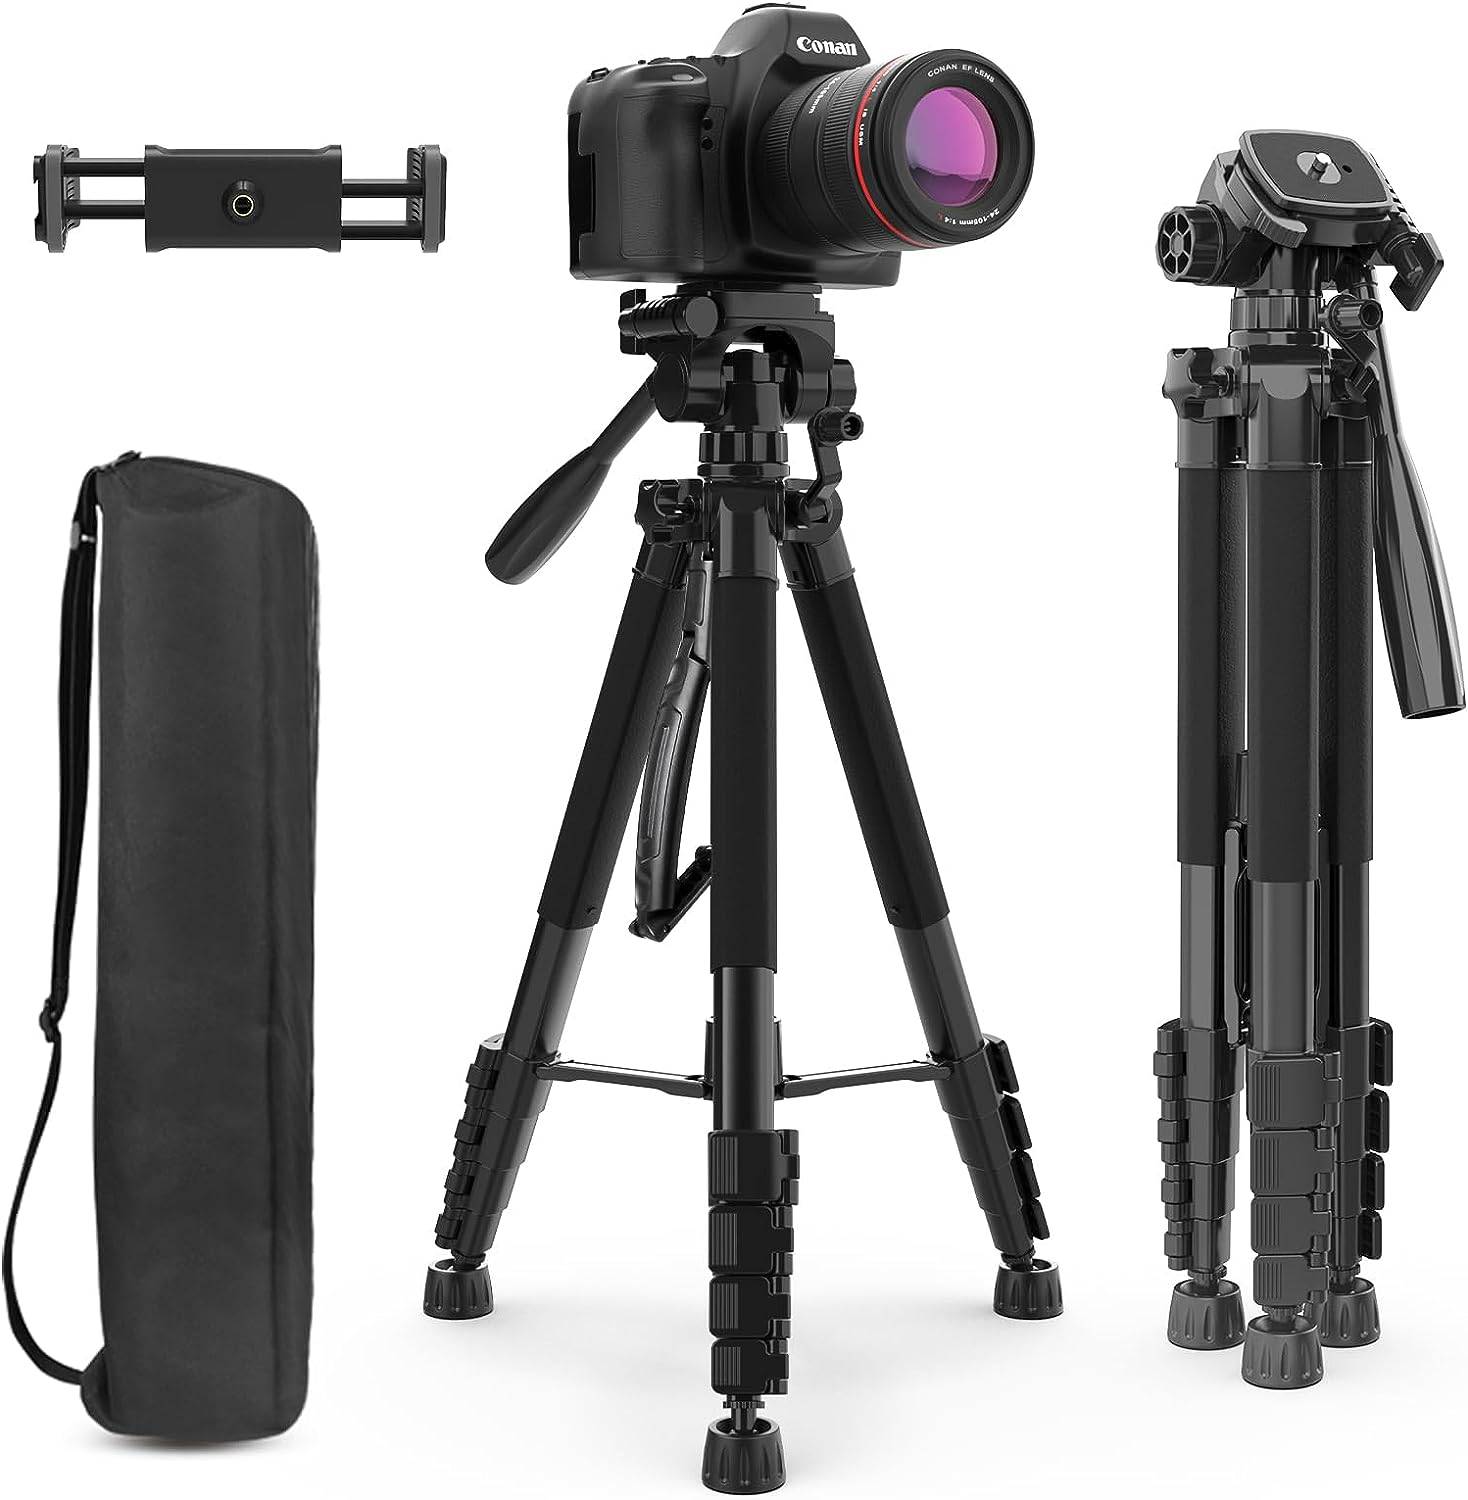
Aureday 74’’ Camera Tripod with Travel Bag
Introducing theversatile and innovative tripod, designed to elevate your photography and videography game to new heights. Elevate your photography experience with this tripod’s unmatched flexibility, quality materials, and superior design. Get ready to capture stunning shots from various angles and heights, and unleash your creative potential like never before.
How can I make food photos look more appetizing?
To make your food photos more appetizing, focus on showcasing the textures, colors, and freshness of the ingredients.
Experiment with different plating techniques, use garnishes strategically, and pay attention to the lighting and composition.
Additionally, using props that complement the dish and creating a sense of context can also enhance the overall appeal.
What are some common mistakes to avoid in food photography?
One common mistake is over-styling the food, leading to an unrealistic appearance. Remember, the goal is to make the dish look tempting and natural.
Avoid harsh lighting, cluttered backgrounds, and distracting props. Also, be mindful of reflections on shiny surfaces and ensure your focus is sharp on the main subject.
How can I develop my own unique style in food photography?
Developing a unique style in food photography takes time and experimentation. Start by exploring different genres and studying the work of other photographers for inspiration.
Practice regularly, experiment with various techniques, and pay attention to the feedback you receive. Over time, you’ll develop your own signature style that reflects your creativity and personal vision.
Follow me on Pinterest


Comments are closed.