
Real Estate Photography Tips
15 Real Estate Photography Tips to Sell Properties Faster – From Click to Sold
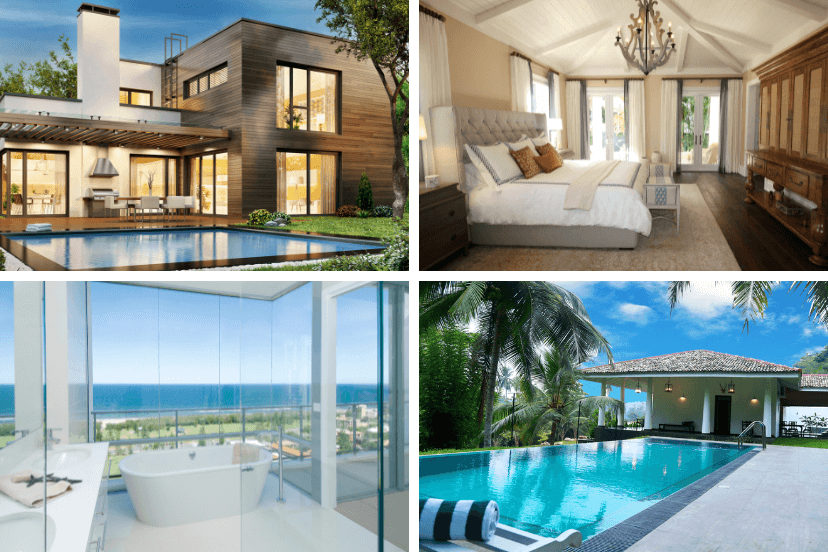
Whether you’re a professional photographer or a homeowner looking to capture the essence of your property, these 15 real estate photography tips will help you take stunning photos to attract potential buyers. From composition to lighting, I’ll share practical examples to help you take amazing real estate photos for maximum impact.
I am a participant in the Amazon Services LLC Associates Program, an affiliate advertising program designed to provide a means for me to earn fees by linking to Amazon.com and related sites. This post may contain affiliate links, which means I may receive a commission, at no cost to you, for purchases made using my links. Please see my disclosure to learn more.
Declutter and Clean:
Before snapping any photos, ensure the space is clutter-free and spotlessly clean. Remove personal items, excessive furniture, and any distracting elements that may divert attention from the property’s features.
Example: Tidy up countertops, organize bookshelves, and make beds neatly to create an inviting atmosphere that appeals to buyers.
Emphasize Natural Light:
Utilize natural light as much as possible to highlight the property’s best features. Open curtains and blinds, and shoot during daylight hours to let sunlight flood the rooms.
Example: Capture a living room with abundant natural light streaming in through large windows, creating an airy and bright ambiance.

Properly Stage the Space:
Stage the property to help potential buyers envision themselves living there. Arrange furniture to showcase the flow of the rooms and create a sense of space.
Example: Place a small dining table with elegant settings to showcase the potential for entertaining in a dining room.
Utilize Wide-Angle Lens:
A wide-angle lens allows you to capture more of the space, providing a comprehensive view. It helps convey the property’s size and layout accurately.
Example: Use a wide-angle lens to capture the spaciousness of an open-concept kitchen and living area.
Find the Right Angle:
Experiment with different angles to find the most flattering perspective for each room. Capture shots from the corners to make the rooms appear larger and more inviting.
Example: Photograph a bedroom from the corner to highlight its size and show the relationship between furniture and space.
Focus on Key Features:
Highlight the property’s unique selling points by zooming in on key features. Showcase stunning architectural details, luxurious finishes, or breathtaking views.
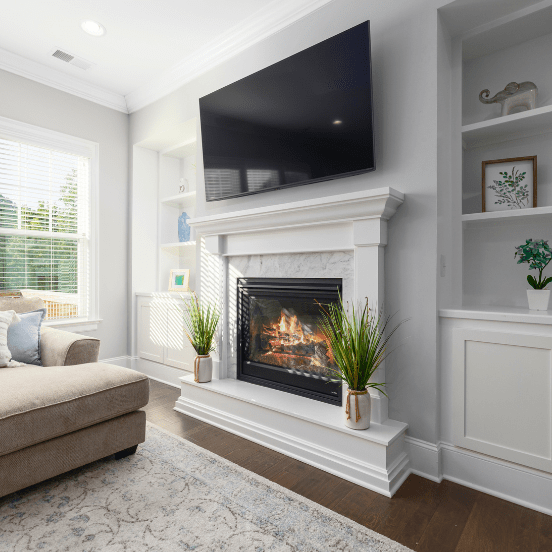
Example: Focus on a beautifully designed fireplace or a panoramic ocean view from a balcony.
Incorporate Depth and Scale:
To give photos depth and scale, include elements that provide a sense of perspective.
Example: Capture a hallway with an open door at the end, leading the viewer’s gaze towards another room. This technique adds a three-dimensional feel and enhances the overall composition.
Show Outdoor Spaces:
Capture the property’s outdoor areas to showcase additional selling points. Photograph patios, gardens, or swimming pools, emphasizing their potential for relaxation and entertainment.
Example: Capture a well-maintained backyard with a cozy seating area, creating an inviting atmosphere for outdoor living.
Edit for Enhanced Appeal:
Post-processing can enhance your real estate photos. Adjust brightness, contrast, and color balance to make the images visually appealing without being overly edited.
Example: Brighten shadows to reveal details in darker areas, and enhance colors to make rooms look warm and inviting.
Experiment with Different Perspectives:
Don’t limit yourself to shooting straight-on. Get creative and experiment with different perspectives to add visual interest. Capture unique angles, such as shooting from above or below, to provide a fresh and captivating viewpoint.
Example: Photograph a staircase from above to emphasize its grandeur and architectural beauty.
Highlight Storage Spaces:
Buyers appreciate ample storage options, so be sure to capture closets, cabinets, and other storage spaces. Showcase how organized and spacious these areas are, helping potential buyers visualize their belongings in the property.
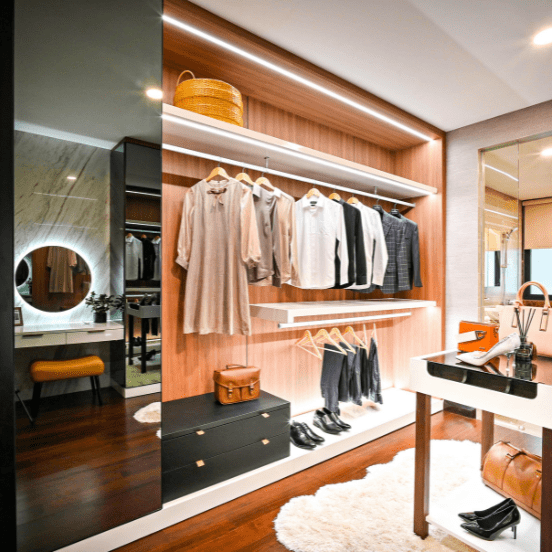
Example: Photograph a well-organized walk-in closet to demonstrate its functionality.
Pay Attention to Details:
Zoom in on small but significant details that add character and charm to the property. Capture architectural elements, intricate tile work, or unique fixtures.
Example: Photograph close-ups of a vintage doorknob or a beautifully crafted ceiling medallion.
Utilize Twilight Photography:
Twilight photography can create a magical ambiance and make your property stand out. Capture exterior shots during the “blue hour” just after sunset, when the sky has a deep blue hue.
Example: Photograph a house with soft, warm interior lights glowing against the twilight sky, creating an enchanting and inviting atmosphere.
Use a Tripod:
A tripod helps ensure sharp and steady shots, especially in low-light conditions. It eliminates camera shake, resulting in crisp and professional-looking images.
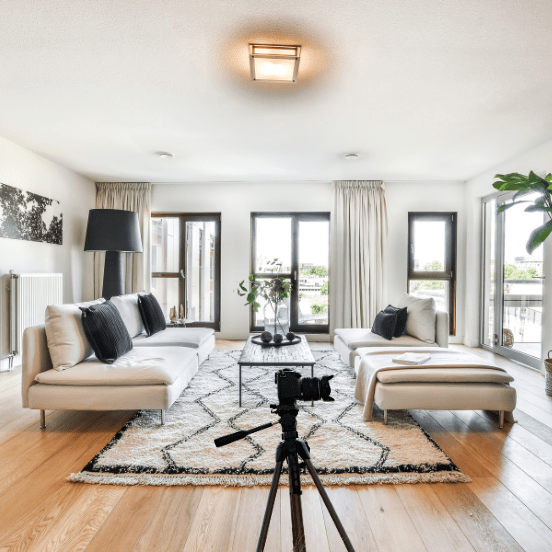
Example: Use a tripod when capturing a long-exposure shot of a well-lit living room to avoid blur.
Top Pick
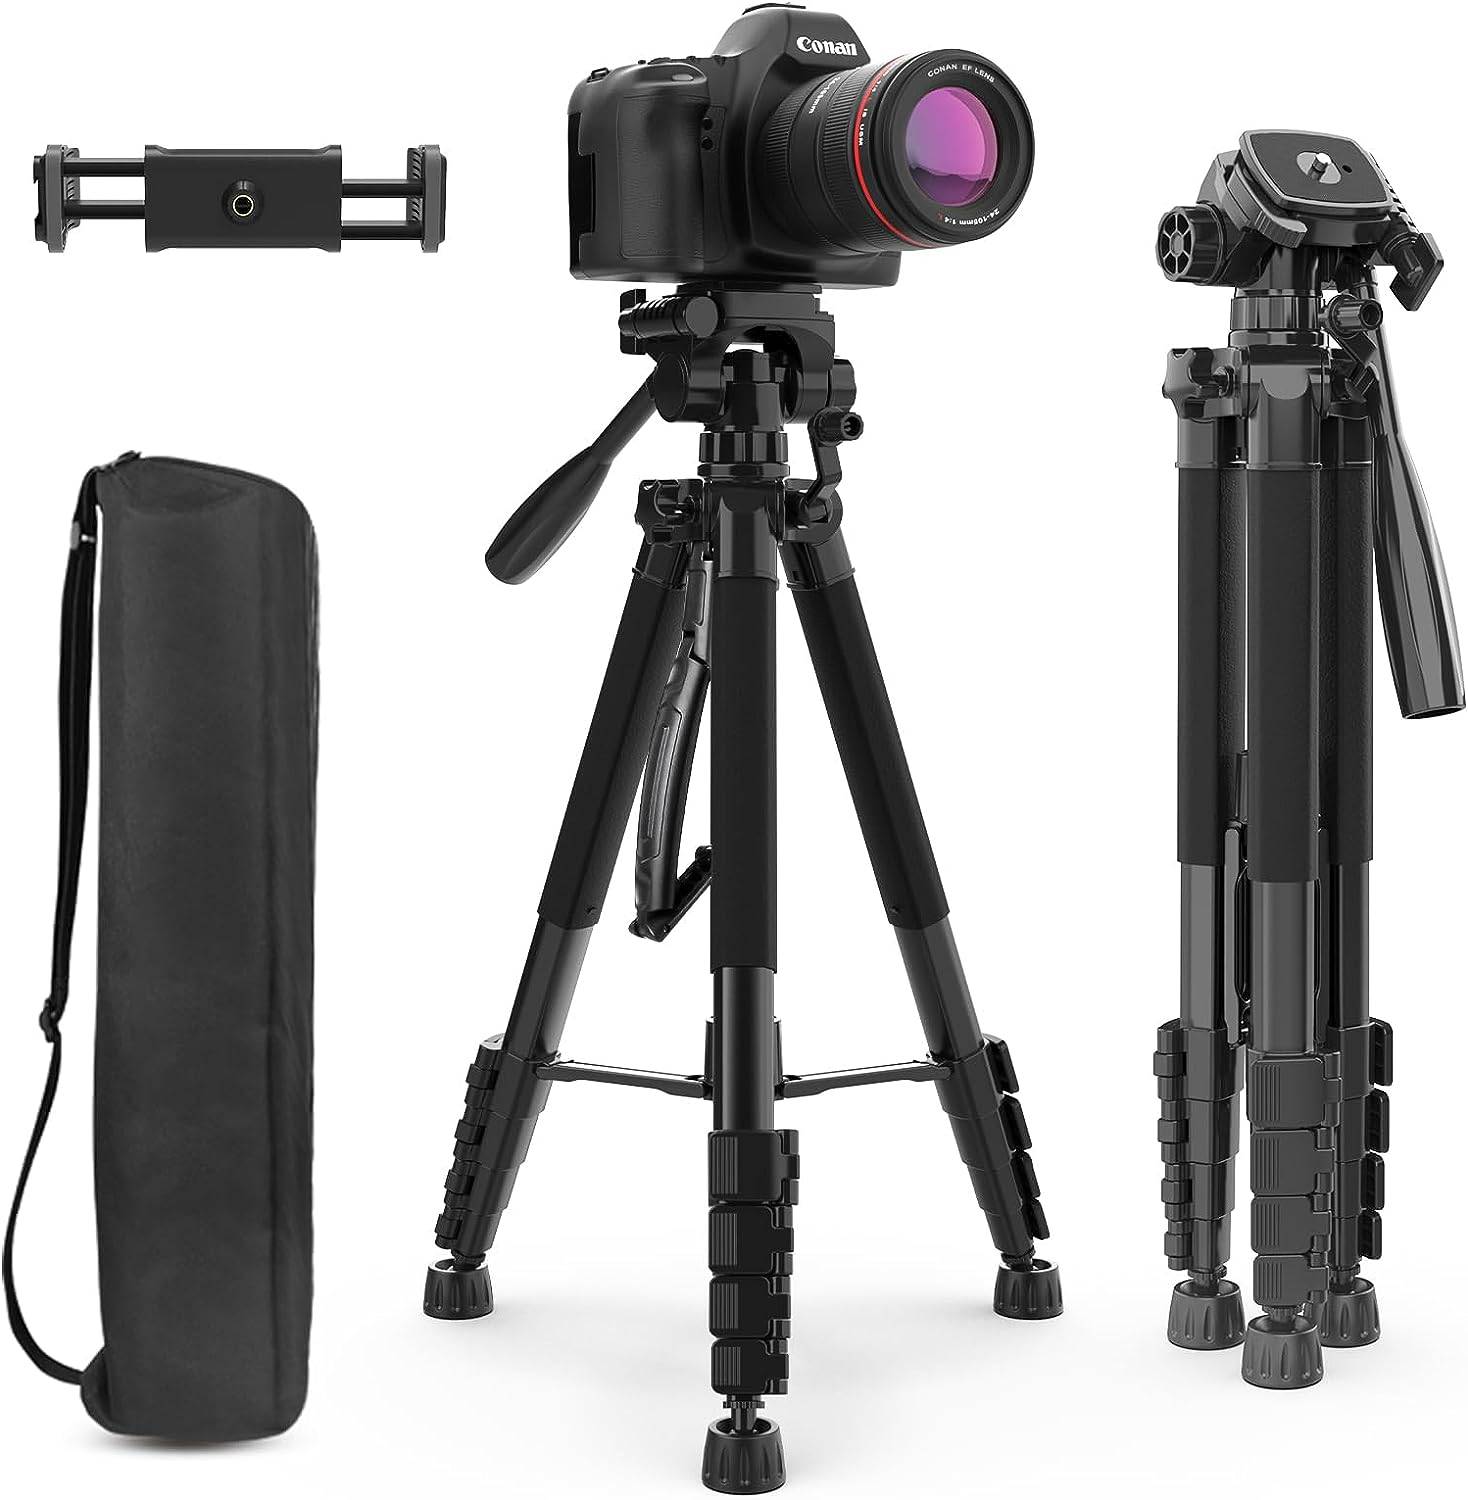
Aureday 74’’ Camera & Phone Tripod with Travel Bag
Best Seller
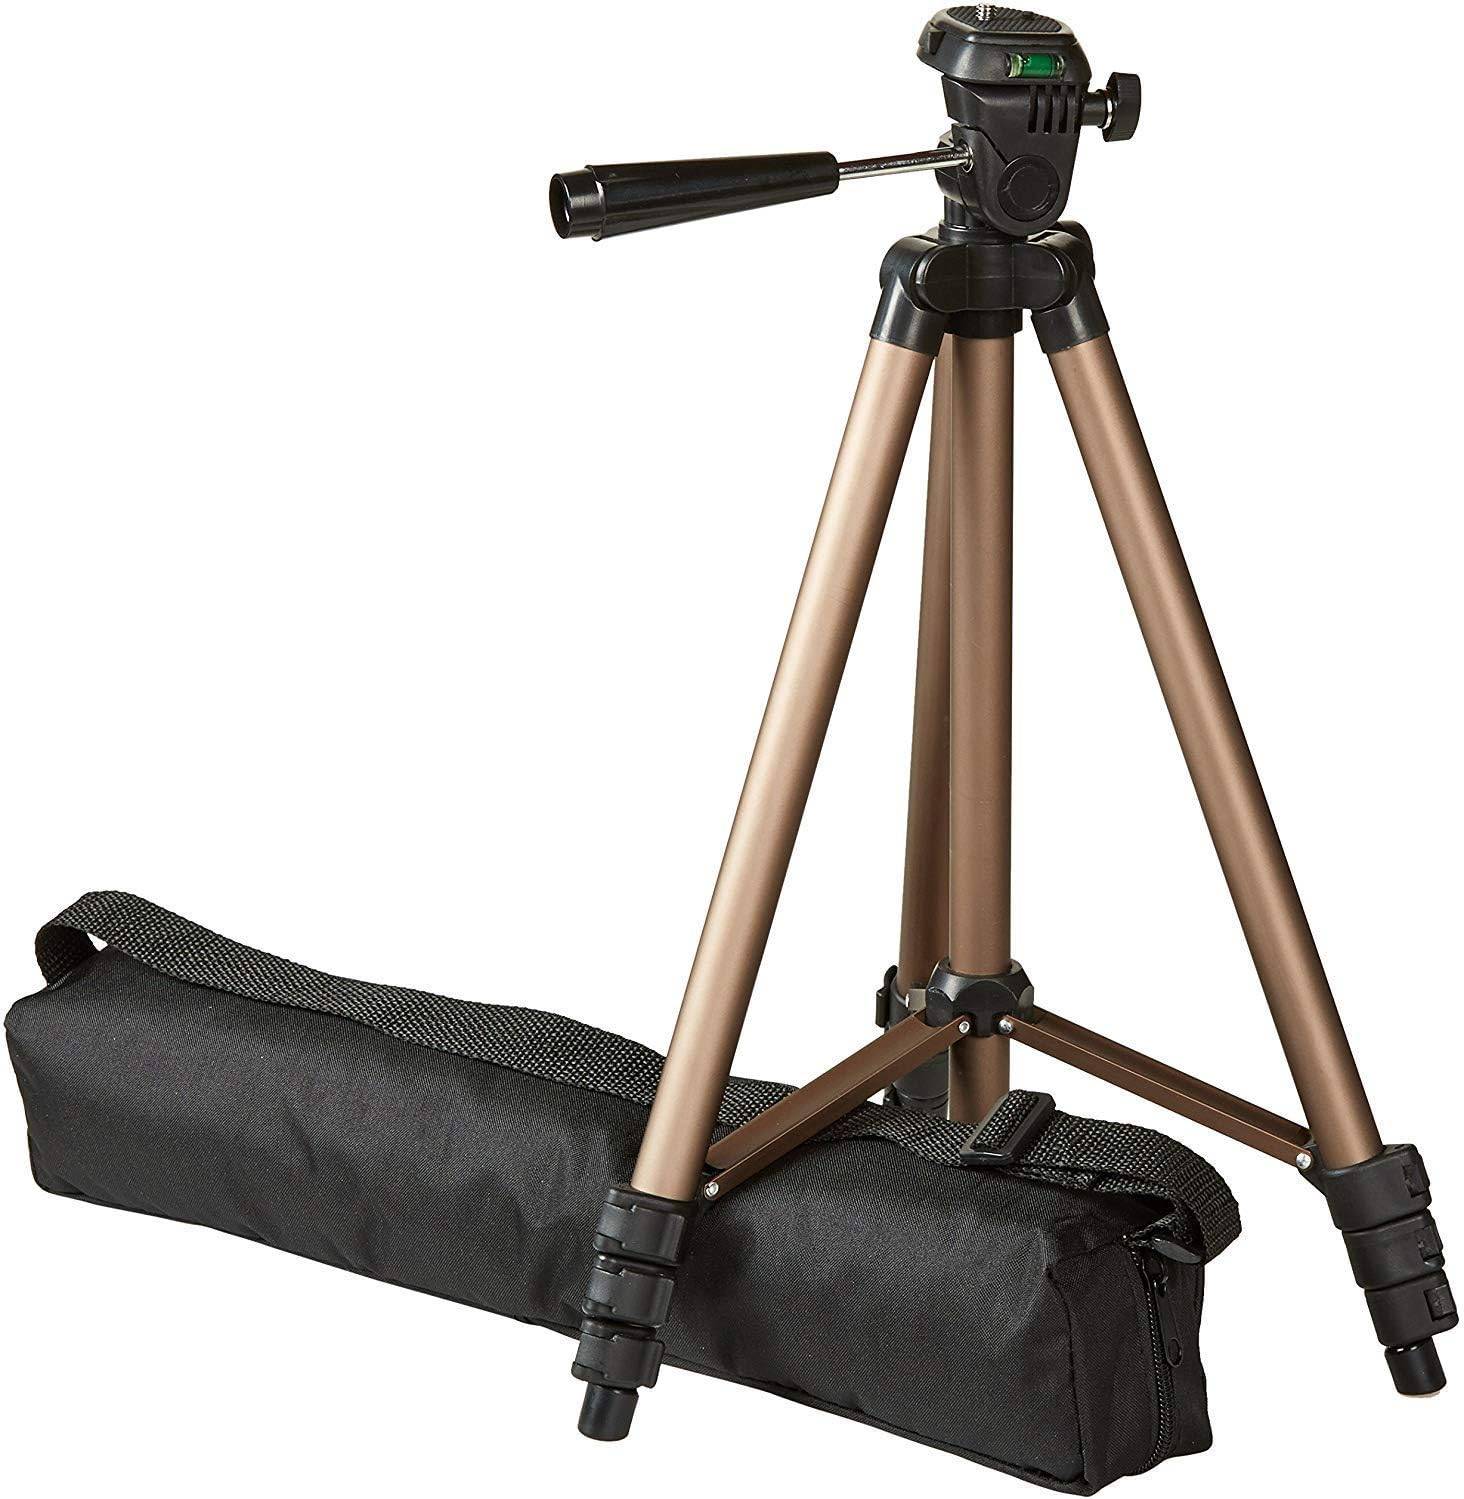
Amazon Basics 50″ Lightweight Camera Tripod with Bag
Highest Rated
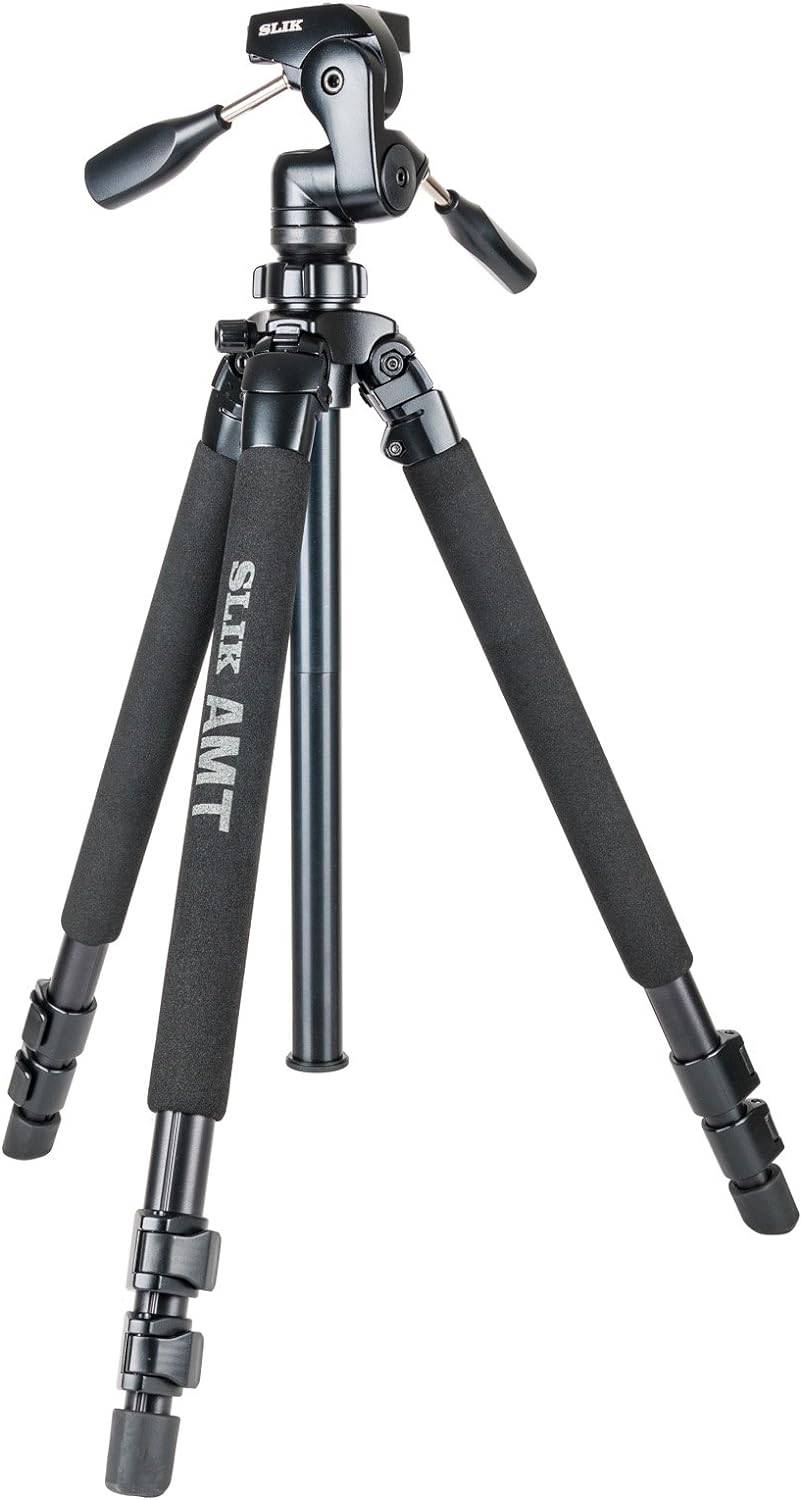
SLIK Pro 700DX Tripod KIT for Mirrorless/DSLR Cameras
Experiment and Develop Your Style:
Real estate photography is an art form, and it’s essential to develop your unique style. Experiment with different techniques, compositions, and editing styles to find what resonates with you and your target audience. Embrace your creativity and let it shine through in your work.
Final Thoughts on Real Estate Photography Tips:
With these 15 real estate photography tips, you’re well on your way to capturing captivating real estate photos.
Remember to declutter and stage the space, utilize natural light, find the right angles, and highlight key features. With practice and experimentation, you’ll develop your own signature style that engages potential buyers and helps sell properties effectively. Happy shooting!
Follow me on Pinterest


Comments are closed.