
Food Photography: The Art of Capturing Deliciousness One Shot at a Time
Food Photography –
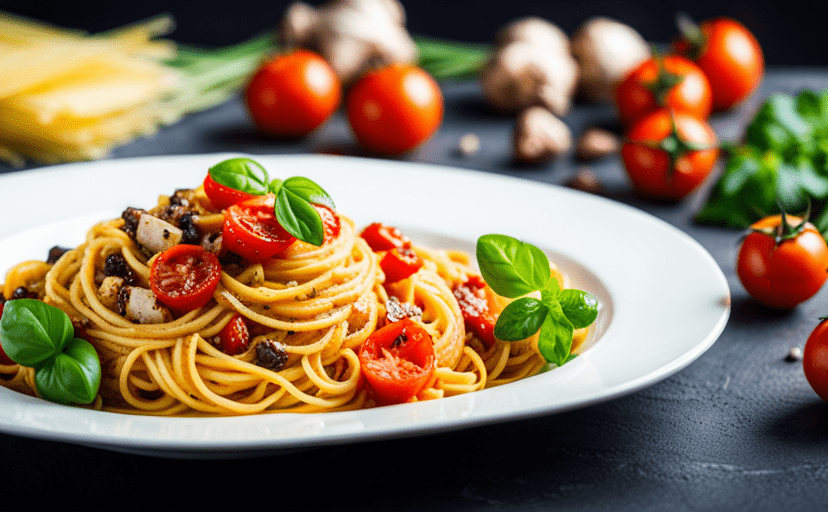
I love food AND photography, so it’s not surprising that I’ve always enjoyed combining these two interests through food photography. Capturing delectable dishes and culinary creations not only allows me to share my love for food, but also enables me to express my creativity behind the lens. In this article, I’ll be sharing my insights and offering valuable tips on how to take excellent photos of food that will leave your audience craving more.
I am a participant in the Amazon Services LLC Associates Program, an affiliate advertising program designed to provide a means for me to earn fees by linking to Amazon.com and related sites. This post may contain affiliate links, which means I may receive a commission, at no cost to you, for purchases made using my links. Please see my disclosure to learn more.
Prefer to listen?
Importance of Food Photography
In today’s visually-driven world, where social media platforms are overflowing with mouthwatering food images, the importance of food photography cannot be understated. A well-executed food photograph has the power to evoke emotions, ignite cravings, and create an immersive experience for the viewer. Whether you’re a food blogger, restaurant owner, or simply an avid Instagram user, mastering the art of food photography can significantly enhance your online presence and captivate your audience.
Equipment and Tools for Food Photography
To embark on your food photography journey, it’s essential to have the right equipment and tools. While professional gear can yield outstanding results, you can still achieve impressive photos with a basic setup. Here are the key items you’ll need:
- Camera: Invest in a DSLR or mirrorless camera that allows manual control over settings. This will give you more creative freedom and ensure better image quality.
- Lenses: A versatile lens, such as a 50mm prime lens or a macro lens, is ideal for capturing food close-ups with stunning details.
- Tripod: A sturdy tripod helps eliminate camera shake and allows you to experiment with longer exposures or multiple shots for focus stacking.
- Lighting: Natural light is the best option for food photography. However, if you’re shooting indoors or in low-light situations, consider investing in artificial lighting like a softbox or a ring light.
Recommended
Evanto Photography Background Kit
Recommended
8PCS Food Photography Backdrops
Recommended

5PCS Food Photography Background
Composition and Styling Tips
Composition and styling play a crucial role in creating visually appealing food photographs. Here are some tips to enhance your composition and styling skills:
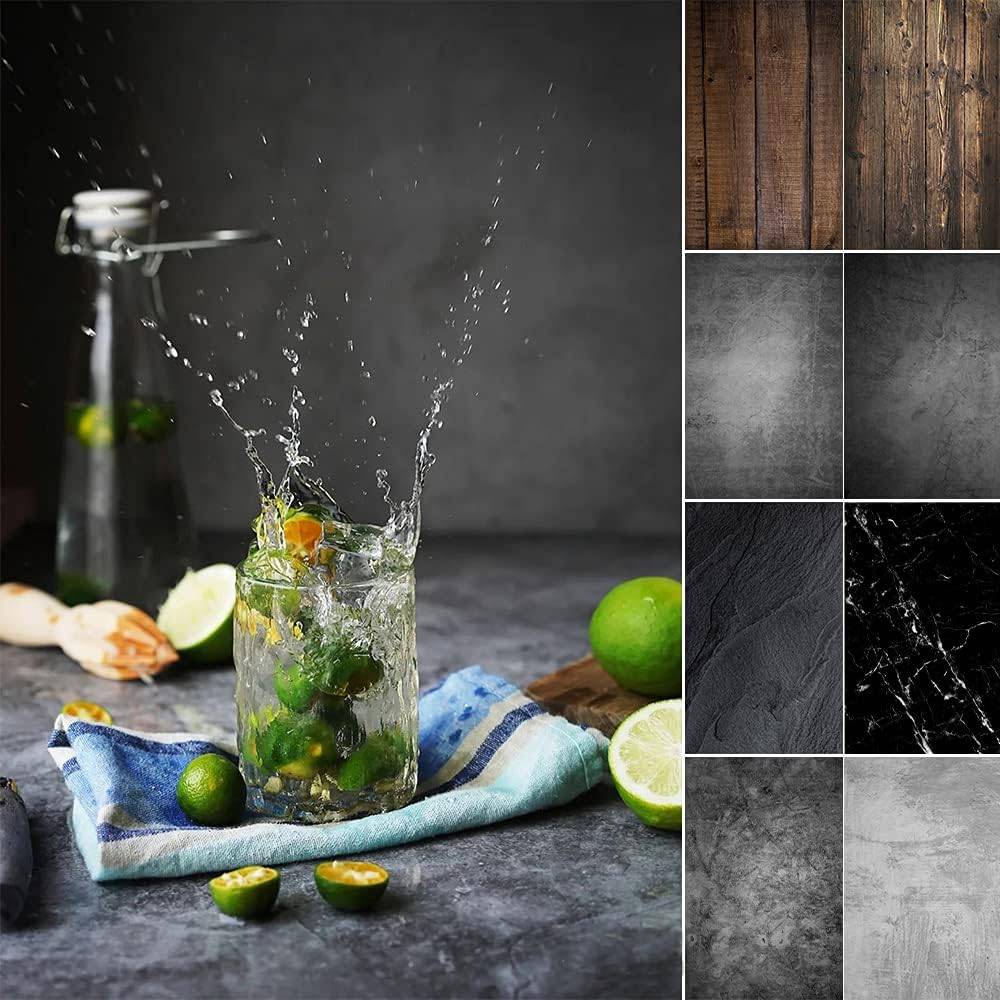
- Choosing the Right Background: Opt for a background that complements the colors and textures of the food. Neutral backgrounds, such as wooden boards or marble surfaces, are popular choices as they provide a clean and natural look.
- Utilizing Props: Props can add interest and context to your food photos. Select props that enhance the overall composition and tell a story about the dish. Consider using utensils, herbs, spices, or ingredients related to the recipe.
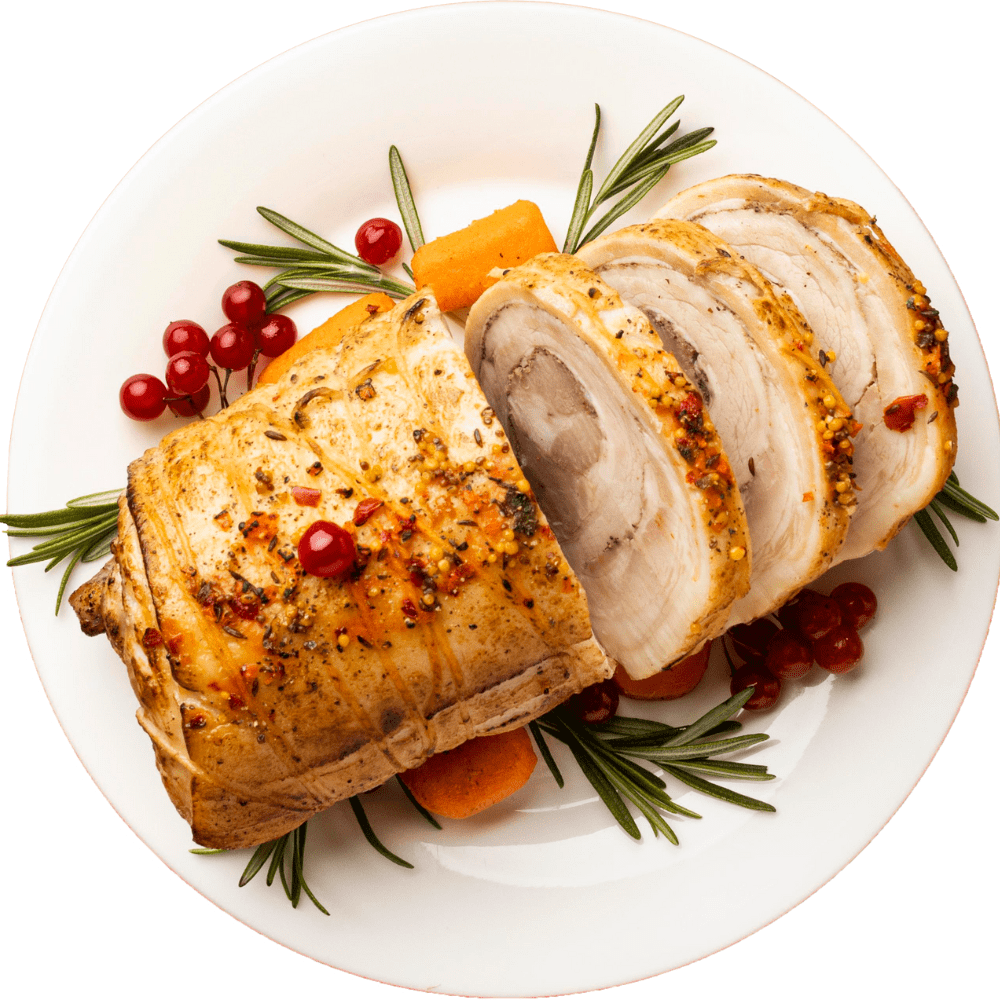
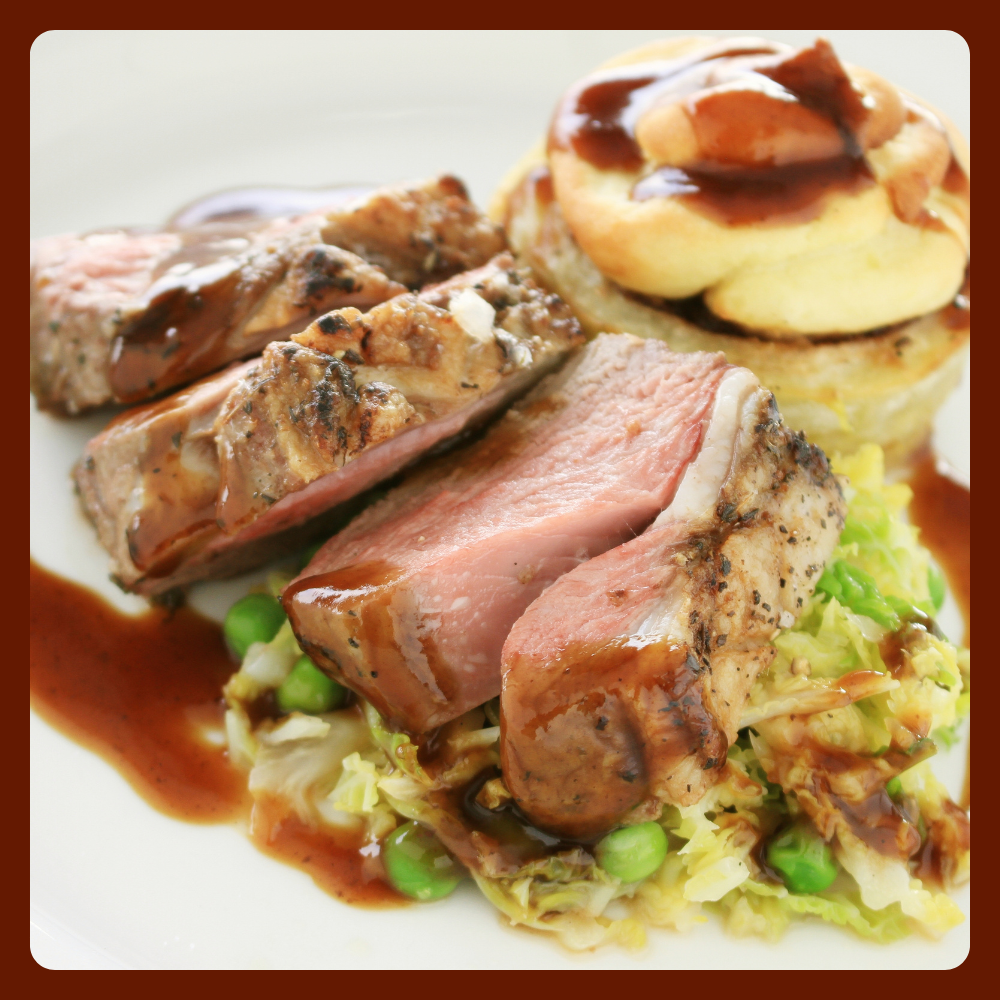
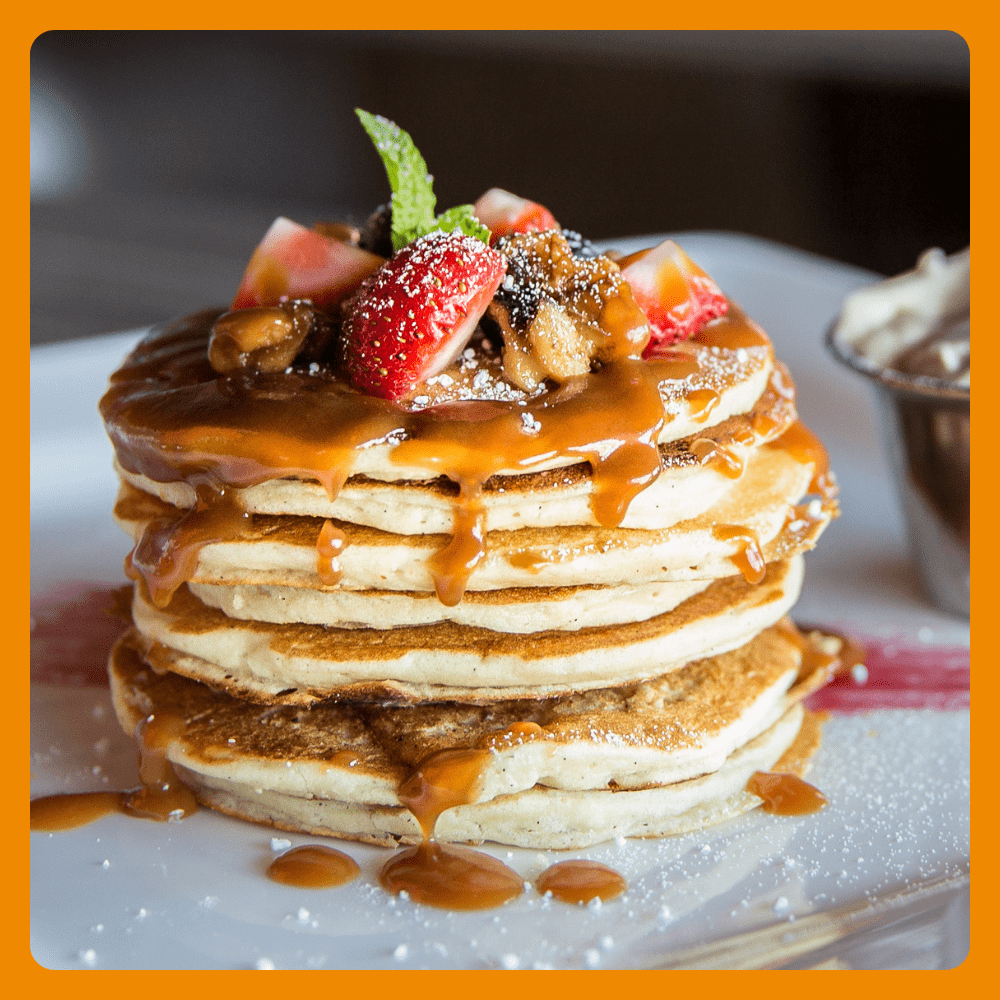
- Plating Techniques: Pay attention to the arrangement of the food on the plate. Use techniques like stacking, drizzling sauces, or garnishing with herbs to create visually appealing presentations. Experiment with different plating styles to find what works best for each dish.
Lighting Techniques for Food Photography
Lighting is a critical aspect of food photography, as it sets the mood and highlights the textures and colors of the food. Here are some lighting techniques to consider:
- Natural Light: Whenever possible, utilize natural light as it provides a soft, diffused illumination. Shoot near a window or outdoors during the day, avoiding direct sunlight that can create harsh shadows.
- Artificial Light: In situations where natural light is insufficient or unavailable, artificial lighting can be used. Experiment with different light sources like softboxes, diffusers, or a combination of ambient and artificial light to achieve the desired effect.
- Diffusers and Reflectors: Diffusers help soften harsh light by spreading it evenly. You can use a white cloth, a professional diffuser, or even a sheer curtain to diffuse the light source. Reflectors, on the other hand, bounce light back onto the subject to reduce shadows and add highlights.
Capturing Details and Textures
One of the key elements that make food photography enticing is the ability to capture intricate details and textures. Here are some techniques to bring out those details:
- Macro Photography: Utilize a macro lens or the macro mode on your camera to capture close-up shots. This allows you to showcase the finer details like the texture of ingredients or the delicate layers of a cake.
- Focus Stacking: When shooting close-ups with a shallow depth of field, use focus stacking to ensure that all desired elements are in sharp focus. Take multiple shots, each with a different focal point, and blend them together in post-processing.
- Texture Enhancements: Highlight textures by paying attention to lighting and styling. Enhance textures by using side lighting to create shadows and highlights, or by adding garnishes that emphasize specific textures.
Enhancing Colors and Contrast
Colors and contrast can greatly impact the visual appeal of your food photographs. Consider the following techniques to enhance colors and contrast:
- Post-Processing Techniques: Editing software like Adobe Lightroom or Photoshop allows you to fine-tune the colors, exposure, and contrast of your photos. Adjust settings to make the food appear more vibrant and appetizing while maintaining a natural look.
- Color Balance and Saturation: Ensure that the colors in your photos are accurate and appealing. Adjust the white balance to remove any color casts and increase the saturation slightly to make the colors pop without appearing unnatural.
- Highlights and Shadows: Play with the highlights and shadows in your photos to create depth and dimension. Adjusting the tonal range can bring out details in both the brightest and darkest areas of the image.
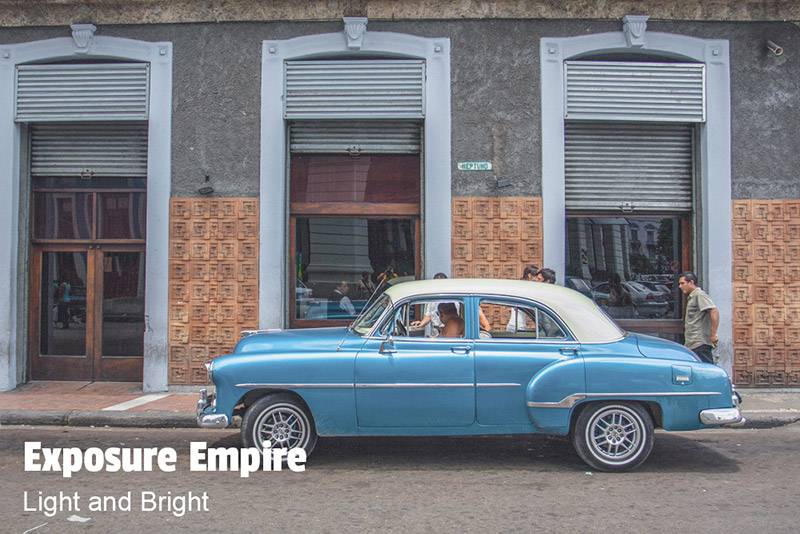
FREE Light and Bright Lightroom Preset and Photoshop Action
The Light and Bright preset/action is ideal for use with photos that are on the darker side. It it lighten the photo and give it a nice, bright look. Like all of our presets and actions it works with Lightroom 4, 5, 6, and CC as well as with Photoshop CC, CC 2014, and CC 2015.
Working with Depth of Field
Depth of field refers to the range of sharpness from the foreground to the background in a photograph. It is a powerful tool for directing the viewer’s attention and creating a sense of depth. Consider the following techniques:
- Aperture Settings: Use a wide aperture (low f-stop number) to achieve a shallow depth of field, where the subject is in focus while the background blurs out, drawing attention to the food. Experiment with different aperture settings to find the desired level of background blur.
- Focusing Techniques: Pay careful attention to where you place the focus in your composition. Ensure that the main subject, such as the dish or a particular ingredient, is in sharp focus. Use autofocus or manual focus to achieve the desired result.
Storytelling through Food Photography
Food photography can be a powerful storytelling medium. It allows you to convey emotions, create narratives, and provide context to your images. Consider the following techniques to tell stories through your food photography:
- Incorporating Context: Place the food in a setting that adds context and tells a story. This could be showcasing the dish being prepared, capturing the atmosphere of a restaurant, or incorporating elements that relate to the cuisine or culture.
- Creating a Narrative: Arrange the elements in your composition in a way that tells a visual story. Consider the sequence of shots, capturing the process from ingredients to the final dish, or presenting a series of images that showcase different stages of a meal.
- Conveying Emotions: Food is closely tied to emotions. Capture the joy, anticipation, or satisfaction associated with eating through the expressions on people’s faces or by focusing on the details that evoke certain feelings.
Best Practices for Editing Food Photos
Editing is an essential step in the food photography process. Here are some best practices for editing your food photos:
- Using Editing Software: Invest in editing software like Adobe Lightroom or Capture One, which provide a wide range of tools and adjustments specifically designed for enhancing food photography.
- Adjusting White Balance: Ensure that the colors in your images appear natural by adjusting the white balance. This step is crucial in correcting any color casts caused by lighting conditions.
- Removing Imperfections: Use the healing or clone stamp tool to remove any distracting elements or imperfections in the image, such as blemishes, crumbs, or stray utensils.
Sharing and Promoting Food Photos
Once you have captured and edited your food photos, it’s time to share them with the world. Here are some tips for sharing and promoting your food photos:
- Social Media Platforms: Utilize popular social media platforms like Instagram, Facebook, or Pinterest to showcase your food photography. Develop a consistent visual style and engage with your audience through captions and comments.
- Engaging Captions and Hashtags: Craft compelling captions that tell the story behind the photo or provide useful information about the dish. Use relevant and popular hashtags to reach a wider audience and increase the chances of your photos being discovered.
- Collaborating with Brands: Collaborate with food-related brands, restaurants, or food bloggers to showcase your photography skills and build professional connections. This can lead to exciting opportunities for partnerships and collaborations.
Tips for Food Photography in Different Settings
Food photography can take place in various settings. Here are some tips for capturing excellent photos in different environments:
- Restaurants and Cafes: When photographing food in a restaurant or café, be mindful of the lighting conditions and try to work with the available natural or artificial light. Communicate with the staff and be respectful of other customers.
- Outdoor Environments: When shooting food outdoors, take advantage of natural light and the picturesque surroundings. Be mindful of the weather conditions and utilize diffusers or reflectors to manage harsh sunlight.
- Home Studio Setup: Create a dedicated space at home for food photography. Set up a small studio area with props, backdrops, and lighting equipment. This allows you to have full control over the environment and experiment with different setups.
Dealing with Challenges and Problem-solving
Food photography can present unique challenges. Here are some common issues and how to overcome them:
- Dealing with Food Melting or Wilting: Some dishes, such as ice cream or salads, may melt or wilt quickly under hot lights. To combat this, work efficiently and be prepared with pre-chilled ingredients. Use a cold spray or props like fake ice cubes to create the illusion of freshness.
- Overcoming Reflections and Glare: Reflective surfaces, such as glassware or shiny plates, can create unwanted reflections or glare in your photos. To minimize this, adjust the angle of the lighting or use a polarizing filter on your lens to reduce reflections.
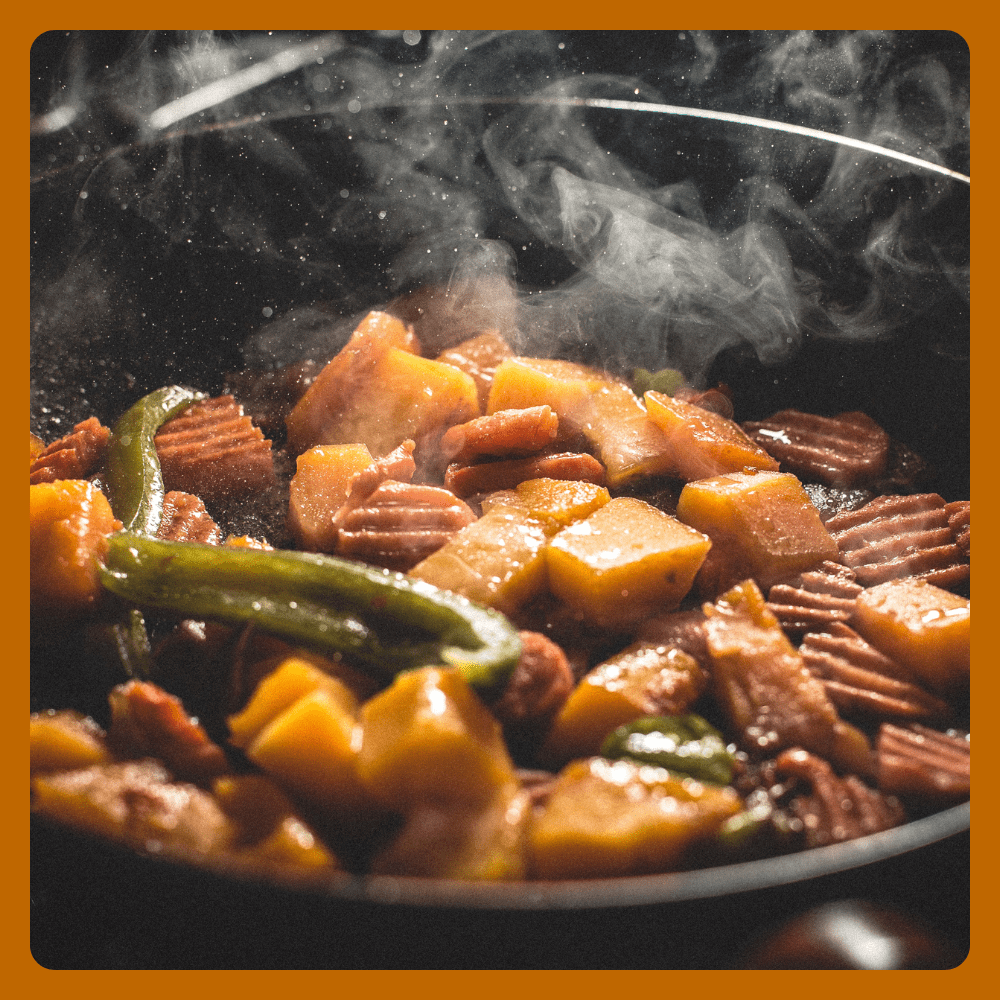
- Managing Steam and Condensation: Steam or condensation on hot dishes can be challenging to capture without it appearing messy or obscuring the food. Quickly photograph the dish right after it’s cooked, use a fan to dissipate steam, or strategically place ice cubes to minimize condensation.
Ethical Considerations in Food Photography
Food photography should be approached with ethical considerations in mind. Here are some principles to keep in mind:
- Honesty in Presentation: Represent the food accurately and honestly. Avoid excessive editing that alters the appearance of the dish beyond recognition. Maintain transparency and integrity in your photography.
- Responsible Food Styling: Be mindful of the resources used during food styling. Minimize food waste by repurposing ingredients or using substitutes for perishable items. Consider composting or donating leftovers.
- Reducing Food Waste: Plan your photo shoots carefully to minimize food waste. Make use of leftovers by incorporating them into other dishes or repurposing them creatively.
Final Thoughts
Food photography is a delightful blend of creativity, culinary artistry, and storytelling. By following the tips and techniques discussed in this article, you can enhance your food photography skills and create visually stunning images that captivate your audience. Remember to experiment, find your unique style, and enjoy the process of capturing the beauty of food through the lens.
Food Photography FAQs Audio
FAQs (Frequently Asked Questions)
1. Do I need expensive equipment to start with food photography?
No, you can achieve impressive results with basic equipment like a DSLR or mirrorless camera, a versatile lens, and good lighting. As you progress, you can invest in more specialized gear.
2. Is natural light always better than artificial lighting for food photography?
Natural light provides a soft and appealing illumination, but artificial lighting can be controlled and consistent. Both have their advantages, so it’s best to experiment and find what works for your style.
3. How can I improve my food styling skills?
Practice, research, and draw inspiration from food magazines, cookbooks, and online resources. Experiment with different plating techniques, props, and backgrounds to develop your own unique style.
4. Should I edit my food photos?
Editing is an important step in enhancing your food photos. It allows you to adjust colors, contrast, and remove any imperfections. However, strive for a natural look and avoid excessive editing that alters the true representation of the food.
5. How can I gain exposure for my food photography?
Utilize social media platforms, engage with the food photography community, collaborate with brands, and participate in food-related events or contests. Building a strong online presence and networking can help you gain recognition for your work.
Remember, food photography is not just about capturing visually pleasing images—it’s about telling stories, evoking emotions, and sharing your passion for food with others. So, grab your camera, experiment with different techniques, and let your creativity unfold through the lens!
Follow me on Pinterest


Comments are closed.