
Exposure Triangle
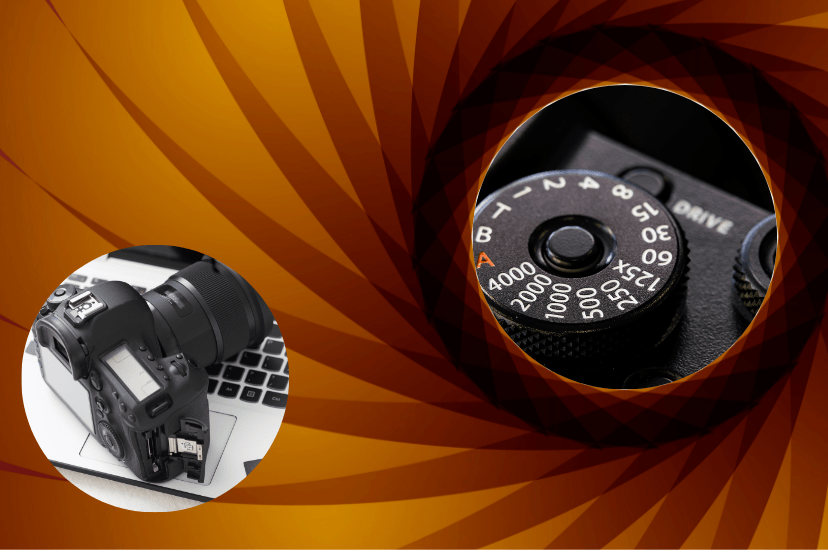
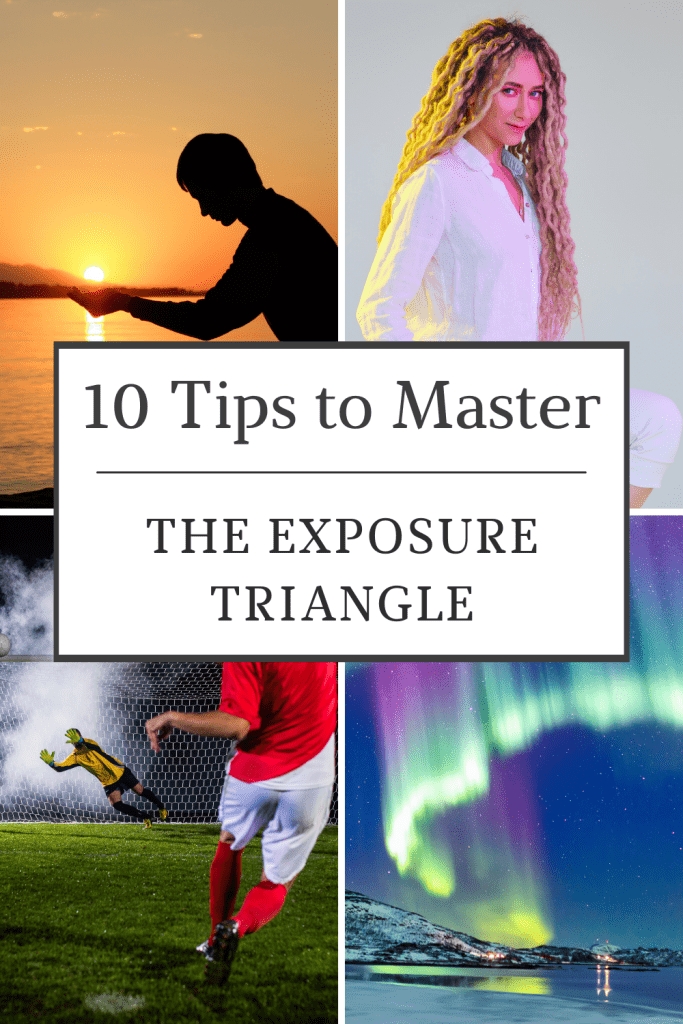
The Exposure Triangle : 10 Tips to Capture Perfectly Exposed Photos
I am a participant in the Amazon Services LLC Associates Program, an affiliate advertising program designed to provide a means for me to earn fees by linking to Amazon.com and related sites. This post may contain affiliate links, which means I may receive a commission, at no cost to you, for purchases made using my links. Please see my disclosure to learn more.
Top Pick
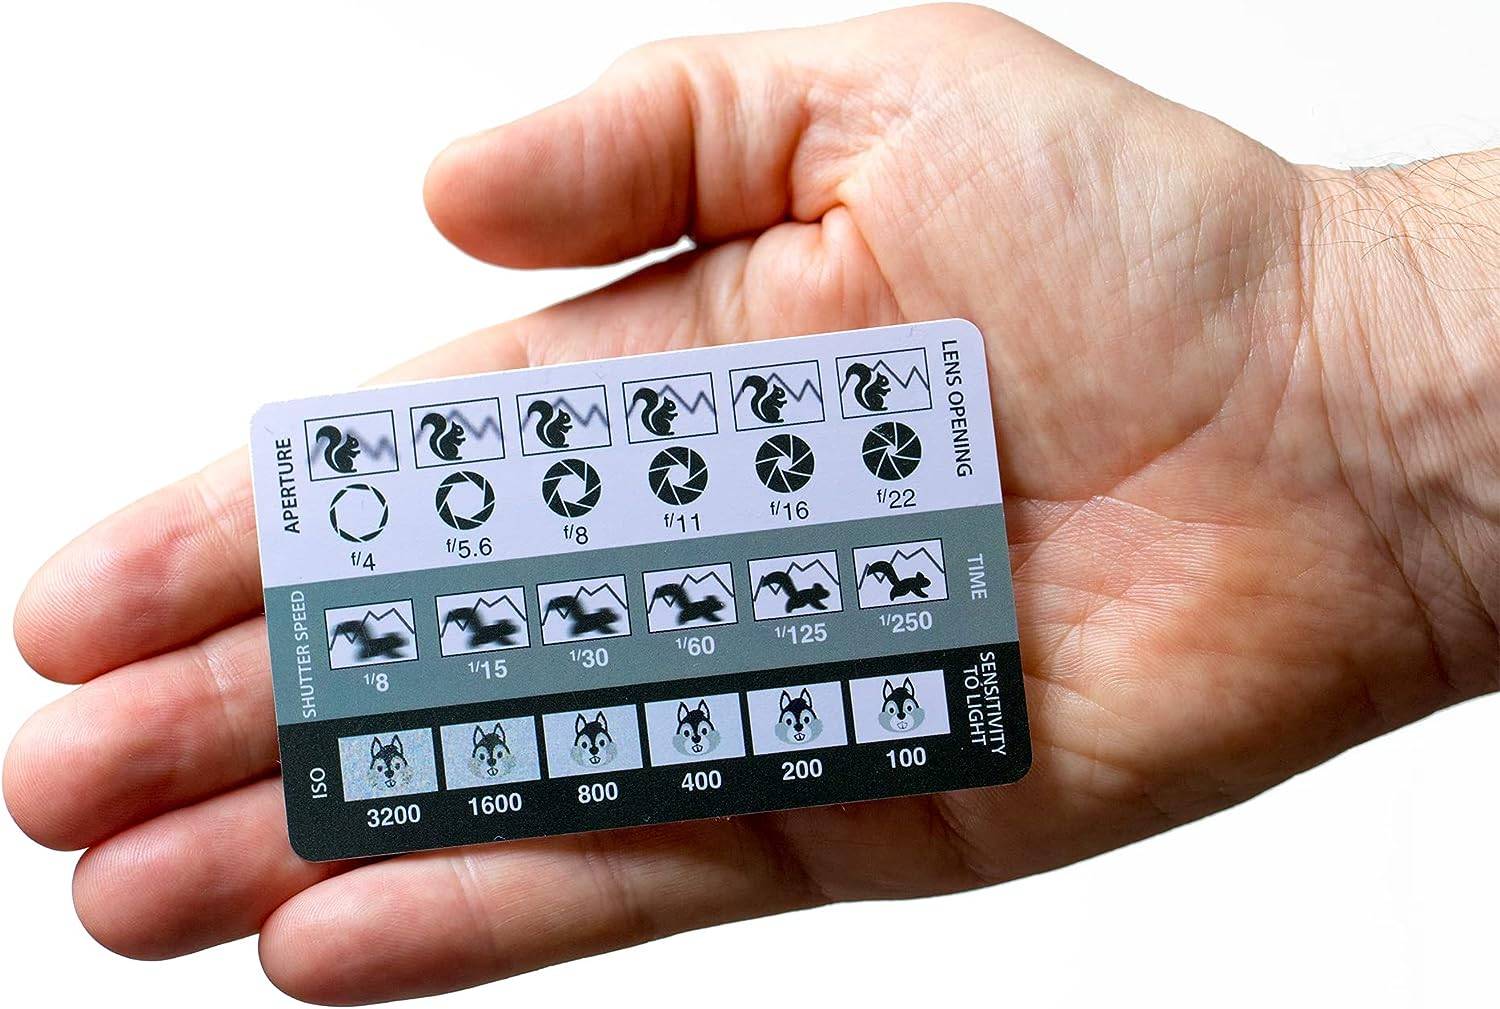
DSLR/mirrorless Photography Cheat Sheets
Recommended

The Photography Deck
Recommended
Photography Cheat Sheet Cards
What is the exposure triangle in photography
In photography, the exposure triangle is a fundamental concept that forms the backbone of capturing well-exposed and visually captivating images. It represents the delicate interplay between three essential elements: aperture, shutter speed, and ISO.
Each of these factors plays a crucial role in determining the brightness, clarity, and overall quality of a photograph. Mastering the exposure triangle allows photographers to unleash their creativity and control how light interacts with their subjects, enabling them to achieve striking visual effects, such as shallow depth of field, motion blur, or crisp frozen action.
By understanding how these elements work in tandem, photographers can confidently navigate diverse shooting conditions and capture stunning images that effectively convey their artistic vision.
Tip 1: Know the basics of the exposure triangle.
Understanding the exposure triangle is crucial for achieving well-exposed photographs. The exposure triangle consists of three elements: aperture, shutter speed, and ISO. Aperture controls the amount of light entering the camera, shutter speed determines how long the camera’s sensor is exposed to light, and ISO measures the sensor’s sensitivity to light.
Example: Let’s say you’re photographing a landscape at sunset. To capture the rich colors of the sky, you might choose a smaller aperture (larger f-number) like f/16 to get a deep depth of field. This means more of the scene will be in focus, but it also requires a longer shutter speed to compensate for the reduced light.
Tip 2: Understand the relationship between aperture and depth of field.
Aperture not only controls the amount of light but also affects the depth of field in your photos. A wider aperture (smaller f-number) like f/2.8 creates a shallow depth of field, where only a small portion of the image is in focus. A smaller aperture (larger f-number) like f/11 or f/16 gives you a larger depth of field, where more of the scene is in focus.
Example: When photographing a portrait, you may want to isolate the subject from the background by using a wider aperture (e.g., f/2.8). This will blur the background and draw attention to the person. On the other hand, if you’re shooting a landscape, you’ll want a smaller aperture (e.g., f/11) to keep the entire scene sharp.
Tip 3: Adjust shutter speed for capturing motion.
Shutter speed determines how motion is captured in your photos. A faster shutter speed freezes action, while a slower shutter speed allows for motion blur.
Example: Suppose you’re photographing a sports event and want to freeze the action of a soccer player kicking a ball. You’ll need a fast shutter speed, like 1/1000th of a second, to capture the movement crisply. On the other hand, if you’re capturing a waterfall and want to create a silky, smooth effect, you might use a slower shutter speed like 2 seconds.

Tip 4: Consider the trade-off between shutter speed and handheld shooting.
When using slower shutter speeds, it’s important to stabilize your camera to avoid motion blur caused by camera shake. Using a tripod or other stabilization techniques becomes necessary to maintain image sharpness.
Example: If you’re shooting in low light and want to use a slower shutter speed to capture more light, it’s recommended to use a tripod. This way, you can prevent the camera from shaking, resulting in a sharp image even with longer exposure times.
Tip 5: ISO and its impact on image quality.
ISO measures the sensitivity of your camera’s sensor to light. Higher ISO values increase the sensor’s sensitivity, allowing you to shoot in low-light conditions. However, high ISO settings can introduce digital noise, reducing image quality.
Example: Suppose you’re shooting in a dimly lit indoor environment without a flash. To maintain a fast enough shutter speed and avoid motion blur, you may need to increase the ISO, say from 200 to 1600. However, be cautious not to raise it too high, as it can result in visible noise in the final image.
Tip 6: Use the camera’s exposure meter for assistance.
Most cameras have built-in exposure meters that help you gauge the correct exposure. These meters provide information on whether your image is underexposed, overexposed, or properly exposed. Use this as a guide to adjust your settings accordingly.
Example: As you compose your shot, keep an eye on the camera’s exposure meter. If the meter indicates an overexposed image (too much light), you can adjust your settings by decreasing the aperture, increasing the shutter speed, or lowering the ISO until the meter shows proper exposure.
Tip 7: Experiment with different exposure compensation settings.
Exposure compensation allows you to adjust the camera’s automatic exposure settings to achieve the desired brightness or darkness in your photos. Use it when you want to override the camera’s metering and get more control over the exposure.
Example: Let’s say you’re photographing a snow-covered landscape. The camera’s metering might be fooled by the brightness of the snow and underexpose the scene, resulting in grayish snow. To correct this, use positive exposure compensation (e.g., +1 or +2) to make the snow appear bright white.
Tip 8: Bracket your exposures for tricky lighting situations.
Bracketing involves taking multiple shots at different exposure settings to ensure you capture the scene correctly, especially in high-contrast situations. By shooting a range of exposures, you can blend or select the best-exposed parts later during post-processing.
Example: Imagine you’re photographing a sunset with a vibrant sky and a dark foreground. To capture the full dynamic range of the scene, take multiple shots, each with a different exposure. Later, you can merge these images or manually blend them to create a final photo that shows both the colorful sky and the foreground details.
Tip 9: Understand the concept of reciprocity.
Reciprocity refers to the relationship between aperture and shutter speed. When you change one setting, you can compensate with an opposite adjustment in the other setting to maintain the same exposure value.
Example: If you’re shooting a portrait with a wide aperture of f/2.8 and notice the resulting shutter speed is too fast, you can reduce the shutter speed while maintaining the same exposure by closing down the aperture to f/4 or f/5.6.
Tip 10: Practice and experiment with different exposure settings.
The best way to truly understand the exposure triangle is through hands-on practice. Experiment with various combinations of aperture, shutter speed, and ISO settings in different lighting conditions to see how they affect your images.
Example: Take your camera out and try shooting in different scenarios. Photograph moving subjects, try different depths of field, and experiment with high and low ISO settings. By actively exploring and analyzing the results, you’ll develop a better understanding of how exposure settings influence your photos.
Remember, mastering the exposure triangle takes time and practice. As you gain experience, you’ll become more comfortable manipulating these settings to achieve the desired results in your photographs.
Follow me on Pinterest


Comments are closed.